Will the Federal Battery Rebate Run Out in 2026?
The Federal Battery Rebate, otherwise knows as the Government’s $2.3 billion Cheaper Home Batteries Program offers roughly 30% off battery storage systems to Australian households. When it launched in July 2025, no one predicted batteries would start flying off warehouse shelves at the pace it did and energy retailers like Origin are warning: we could hit the rebate cap by mid-2026.
In this article, you’ll get a clear breakdown of:
- What’s driving this spike in battery installs
- How close we really are to the rebate running dry
- What could happen next — and what that means for you
What Is the Federal Battery Rebate and Why Is It So Popular?
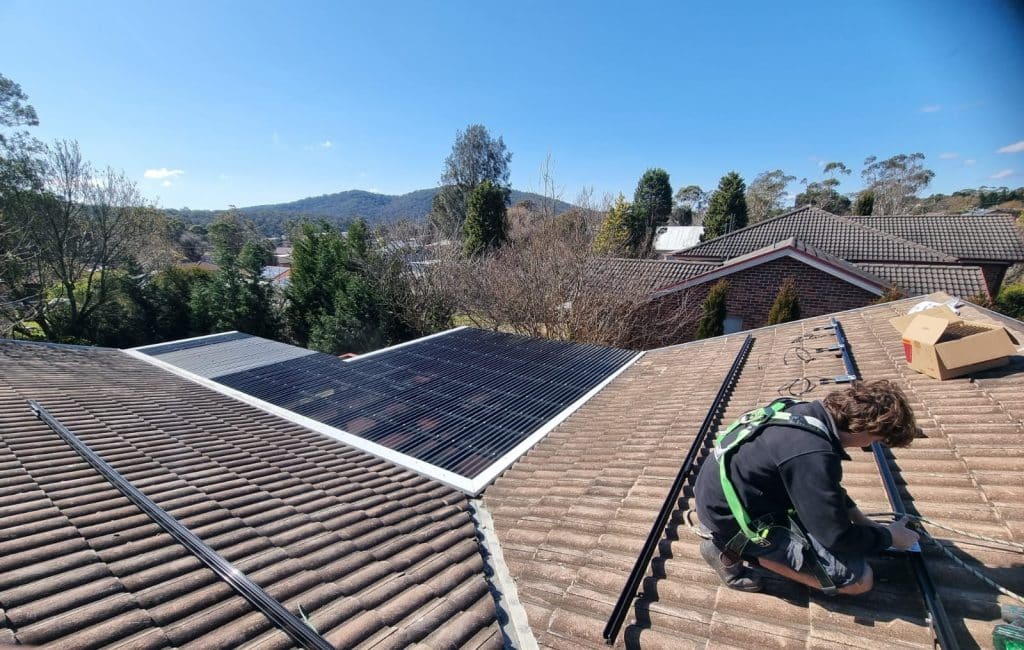
If you’ve looked into adding a solar battery lately, you’ve probably heard about the Cheaper Home Batteries Program (CHBP) — a federal rebate launched in July 2025 to help more Australians afford energy storage.
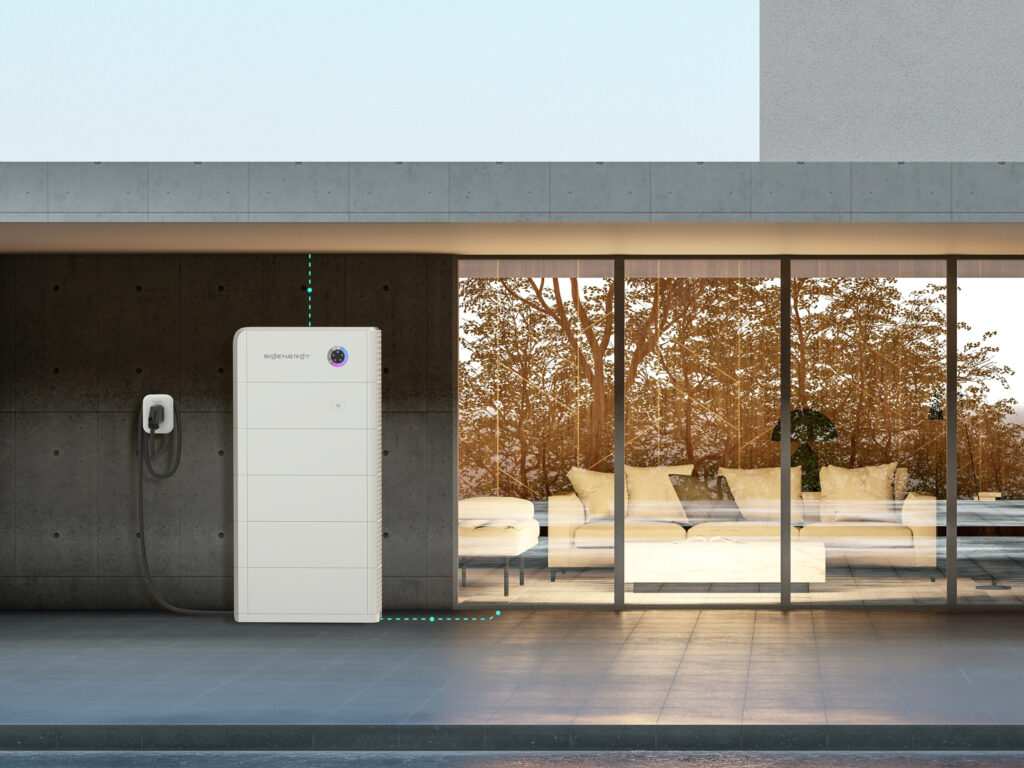
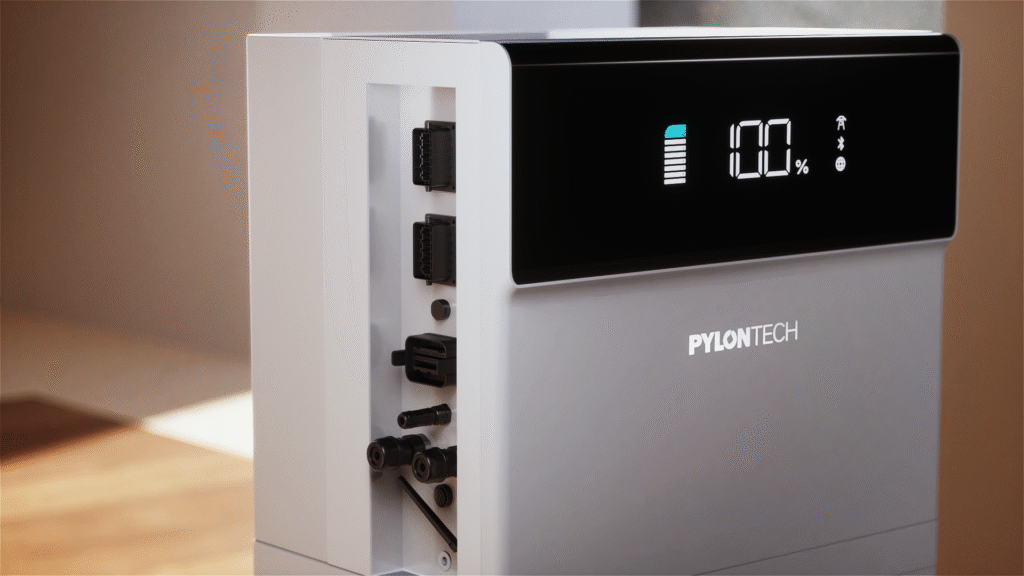
The rebate covers roughly 30% off the cost of an eligible home battery system (up to 50kWh). For most households, that equates to $2,000–$4,000 back, depending on the battery brand, size, and your energy setup.
The response has been massive.
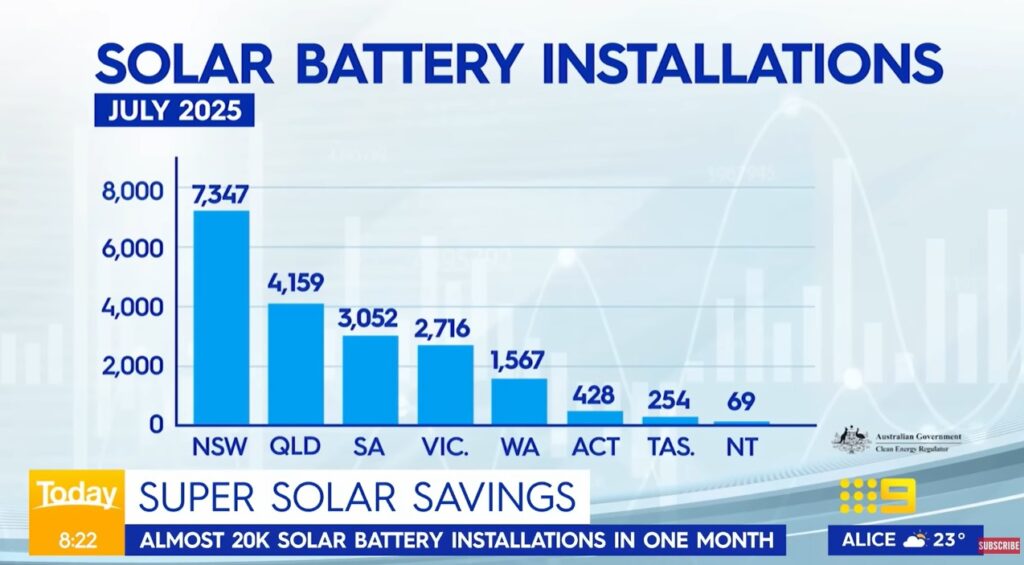
- In the program’s first month alone, 19,592 batteries were installed.
- By early September, that figure had climbed to 43,500+ installations, averaging around 888 installations per day.
- By November, Energy Minister Chris Bowen reported 136,000 batteries installed since July — more than double the typical yearly total before the rebate.
One chart shared by The Today Show showed some of the most active states in the first month — with NSW and QLD leading, followed closely by VIC and SA.
So what’s behind this rush?
For many homeowners, it comes down to affordability and timing:
- Batteries have become significantly cheaper over the past two years.
- Add roughly 30% rebate on top, and the payback period has dropped for most households.
- With power prices rising and feed-in tariffs falling, many people now see a battery as the best way to self-use their solar energy and reduce peak-time grid reliance.
How Fast Are the Funds Being Used?
When the federal government announced the Cheaper Home Batteries Program with a $2.3 billion budget, it was pitched as a long-term incentive — running until 2030, however, this timeline now looks extremely optimistic.
According to SolarQuotes, an analysis which examined Clean Energy Regulator data and installation trends:
- Over 90,000 systems had been processed for rebate claims as of 31 October 2025, with more pending.
- That early wave of installs had already chewed through around $678 million in just four months.
- At that pace, the entire $2.3 billion could be exhausted in 13–14 months — pointing to a mid-2026 cutoff.
Energy Minister Chris Bowen said 125,000 households had installed batteries by mid-November, not just the 90,000 that had been fully processed for certificates. That’s a 21% higher figure, and it changes the maths.
SolarQuotes’ revised analysis, using Bowen’s higher number, suggests the rebate could be fully allocated by June 2026 — or as early as May if demand keeps accelerating.
That projection is backed by Origin Energy, who warned battery installs had surged to up to 1,800 per day in some periods, and that the funding “will probably run out by the middle of next year on this kind of run rate”.
The driving force is not just the rebate itself, but also:
- A shift in homeowner behaviour — people want to keep their solar energy instead of exporting it for a few cents.
- Falling battery prices and rising energy bills.
- A growing awareness of blackout protection, especially in summer.
Another key factor accelerating the depletion of funds is the increasing average size of battery systems. Since the rebate is calculated based on usable battery capacity, the shift from an assumed average of 17kWh to more than 20kWh per system means larger payouts per installation than initially projected.
This combination of high uptake and growing system sizes has led some analysts to conclude that the program’s 2030 end date is unlikely to be realised without further government intervention.

Could the Federal Battery Rebate Be Extended or Adjusted?
It’s possible — however not guaranteed.
The federal government hasn’t yet announced any top-up or structural changes to the Cheaper Home Batteries Program. However, with uptake far exceeding early expectations, both energy experts and industry groups are now openly calling for action.
Potential outcomes to look out for
Reducing the Cap per Household?
One suggestion from SolarQuotes is to cut the maximum eligible battery size for the rebate — not to shrink rebates for typical households, but to slow down uptake at the top end.
Currently, you can claim a rebate for up to 50kWh of usable storage — far more than most homes need. Reducing that cap to 25kWh could stretch the funding further while still covering 99% of residential use cases.
The upside? More households could benefit.
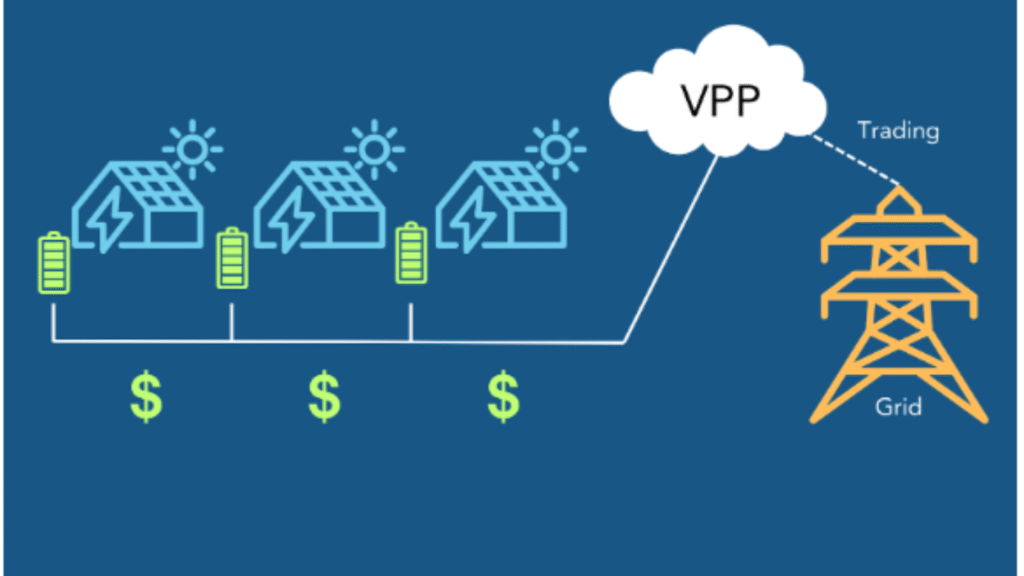
The risk? It might discourage larger households or early adopters wanting future-proofed systems — particularly those aiming for full off-grid capability or participating in VPPs.
More Rules, More Problems?
Some experts warn against over-complicating the program.
If policymakers try to engineer the “perfect” battery rollout through stricter sizing, inverter pairing rules, or eligibility tests, they risk:
- Slowing installs
- Creating confusion
- Opening new loopholes for dodgy operators to exploit
As SolarQuotes analyst Ronald Brakels points out: “Making the scheme more complex can do more harm than good… We may get better results just by requiring installers to inform homeowners of drawbacks.”
What’s Most Likely?
Given the federal battery rebates popularity — and its positive impacts on grid reliability and household bills — some form of adjustment or extension seems politically smart. However, until it’s announced, homeowners are in a race against the funding clock.
If you’re weighing up whether a battery makes sense for your home — with or without the rebate — you can get in touch with Lenergy for straightforward advice. We’re available to answer questions, explain how the rebate works, and help you explore what’s suitable based on your usage.