Sigenergy SigenStack: A New Commercial Battery System for C&I Projects in Australia
Commercial battery storage has been moving in one direction for a while now: bigger projects, tighter sites, and less patience for bulky, rigid systems that are difficult to install or expand.
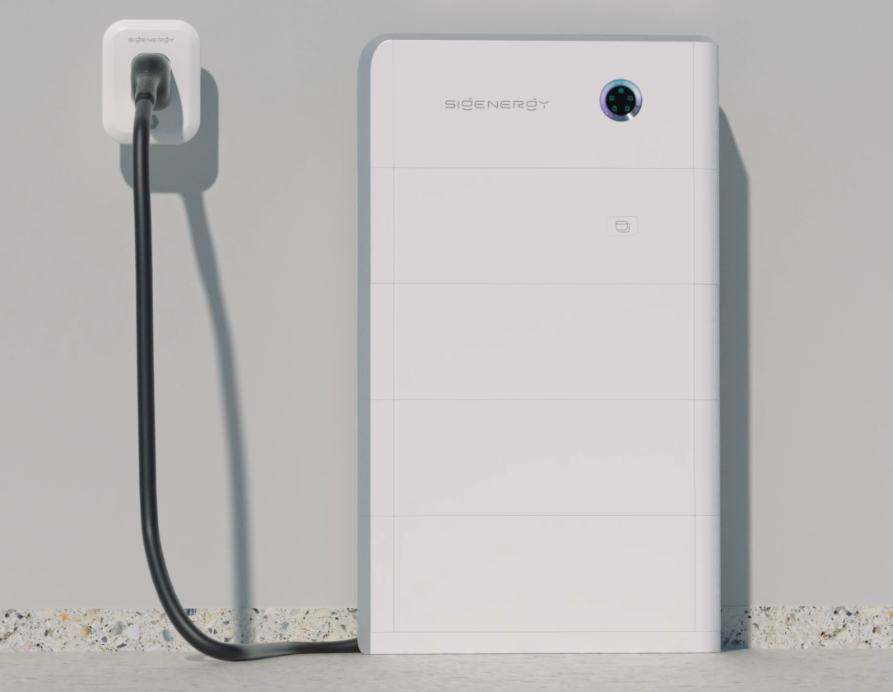
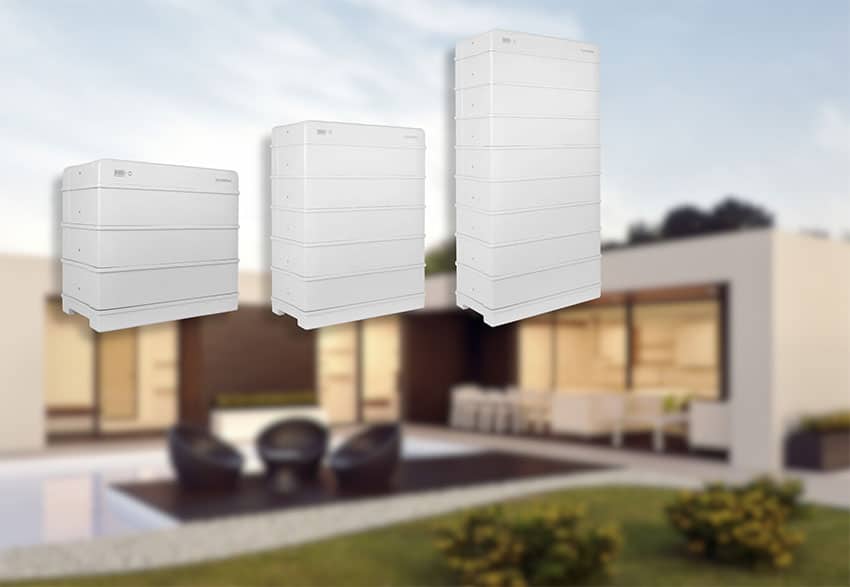
Sigenergy’s new SigenStack commercial battery system is designed for C&I solar projects, offering modular storage for businesses looking to reduce energy costs and improve energy independence.
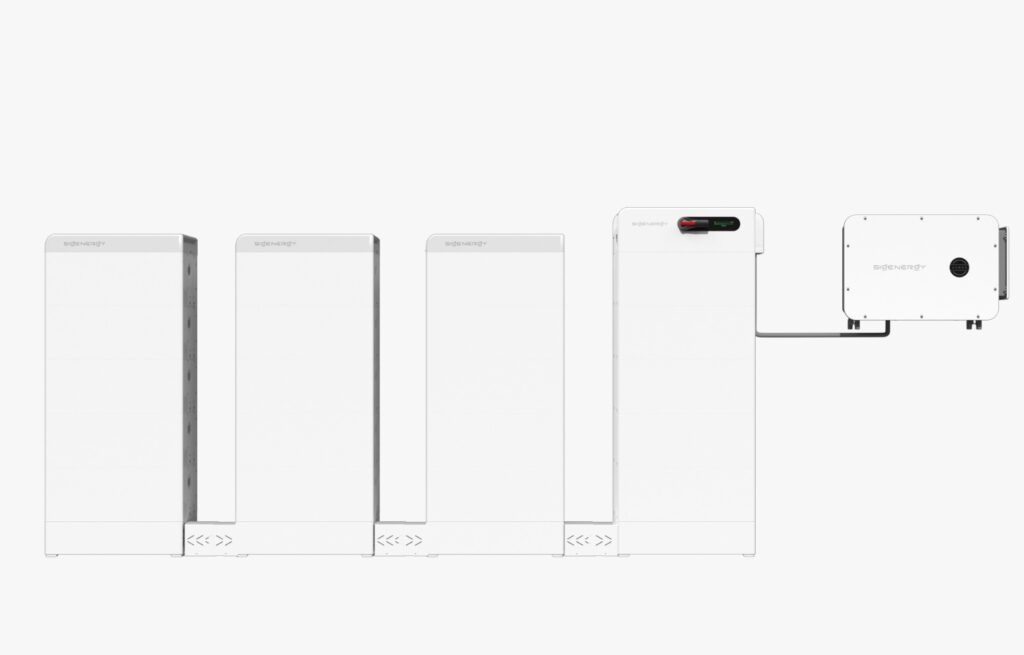
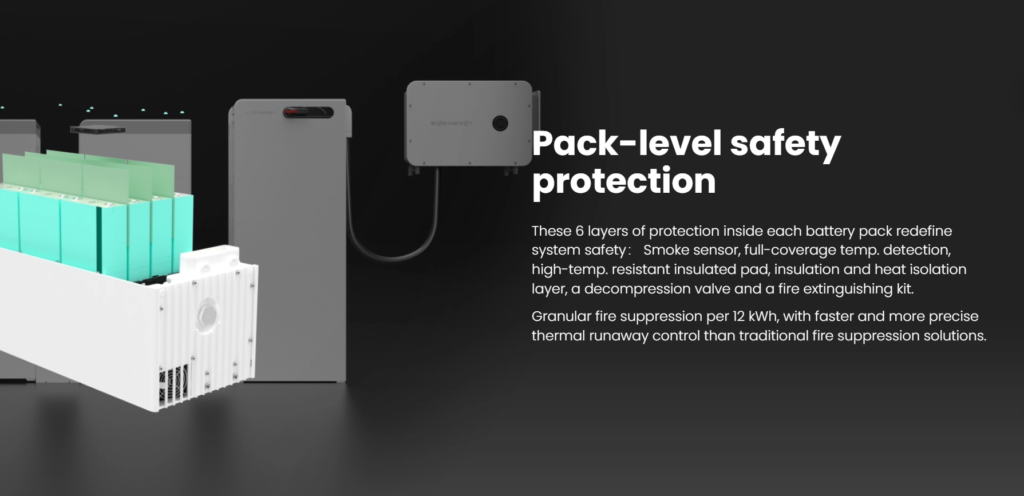
That is why it is worth paying attention. It is a modular commercial battery system built for larger-scale projects, using 12.06 kWh LiFePO₄ battery modules, with systems configurable from 4 to 21 modules and up to 253 kWh per system. It is designed with features that matter in the real world, not just on a brochure — pack-level safety protection, active balancing, IP66 protection, and stackable floor-standing installation.
When you’re looking at commercial battery storage, the focus isn’t on whether it’s new — it’s on whether it’s practical. New products are easy to launch. What’s harder is delivering something that genuinely improves installation, scalability, and real-world usability.
In this article, you will get a quick look at what SigenStack is, the key specs that matter, and why commercial buyers should have it on their radar now.
Sigenergy Has Released SigenStack for Commercial Energy Storage
The Sigenstack along with their new C&I Inverter Range is Sigenergy officially expanding into commercial battery space, they have designed a modular energy storage system specifically for commercial and industrial (C&I) applications.
If you’re familiar with their residential system, SigenStor, this is the next step up. SigenStack takes the same core ideas — modular design, integrated tech, and smart energy management — and scales them for larger projects like warehouses, offices, factories, and multi-site businesses.
At a high level, this is not a fixed, cabinet-style battery. It is a stackable system made up of 12.06 kWh battery modules, allowing you to build a system that fits your site and expand it over time if your energy needs change. A single system can range from 48 kWh up to around 253 kWh per inverter, depending on how many modules are installed.
One of it’s stand out features is the flexibility in it’s design. Most commercial battery systems force you into set sizes (100 kWh, 200 kWh, etc.), which can lead to overpaying upfront or undersizing and needing a full upgrade later. SigenStack is designed to avoid that by letting you tailor the system precisely to your energy needs, it also allows you to build in smaller increments and scale as needed.
It is built with commercial functionality in mind:
- Floor-standing, stackable design (no complex rack systems)
- IP66-rated enclosure for outdoor installs
- Integrated battery management and safety protections
- Active balancing to maintain long-term performance
In short, this is Sigenergy’s move into the part of the market where projects are larger, margins are tighter, and installation efficiency matters just as much as performance.
What Is the Sigenergy SigenStack Commercial Battery?
At its core, the SigenStack is a modular commercial battery system designed to store and manage energy for businesses with higher and more complex energy demands.
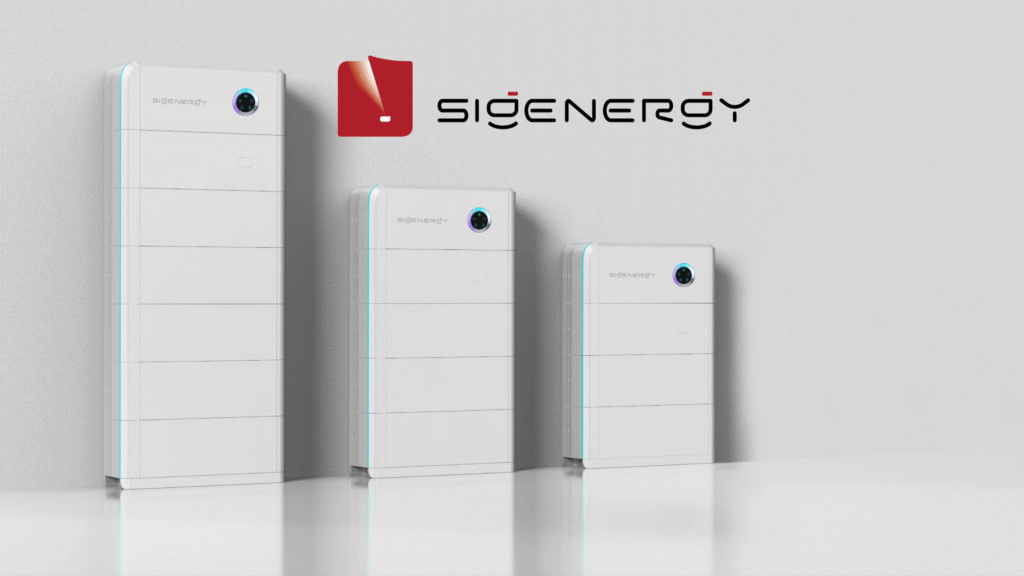
Instead of being a single large cabinet or container, it is built from stackable battery modules, each providing 12.06 kWh of storage. These modules sit on top of each other in a vertical stack, with each system typically made up of 4 to 21 modules, depending on the size required.
You can start with a smaller setup (for example, 48–100 kWh) and scale up as your energy usage grows, your tariffs change, or your business expands. This is particularly useful for sites where future demand is uncertain or expected to increase.
How the system is structured
A SigenStack system is made up of a few key components working together:
- Battery modules (12.06 kWh each) – the building blocks of storage
- Battery controller – manages charging, discharging, and system performance
- Hybrid inverter (paired separately) – handles energy conversion and system control
- Integrated battery management system (BMS) – monitors safety, temperature, and performance
Everything is designed to work as a single system, rather than a collection of separate components bolted together.
Designed for commercial use cases
This isn’t a residential battery stretched to fit a bigger job. It is built for typical commercial scenarios, such as:
- Reducing peak demand charges
- Shifting energy use away from expensive tariff periods
- Storing excess solar for later use
- Providing backup power for critical loads
- Supporting sites with grid constraints or upgrade costs
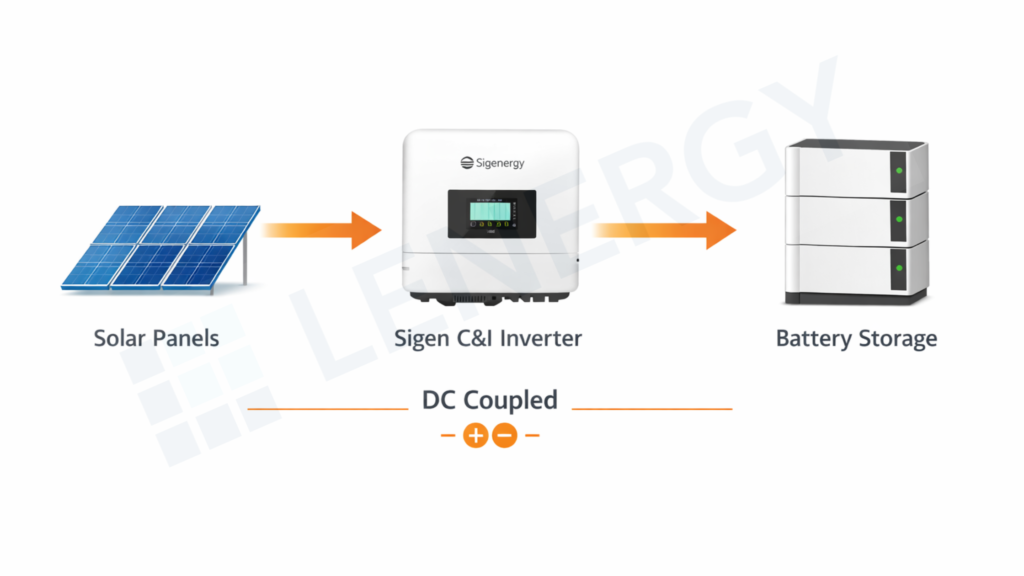
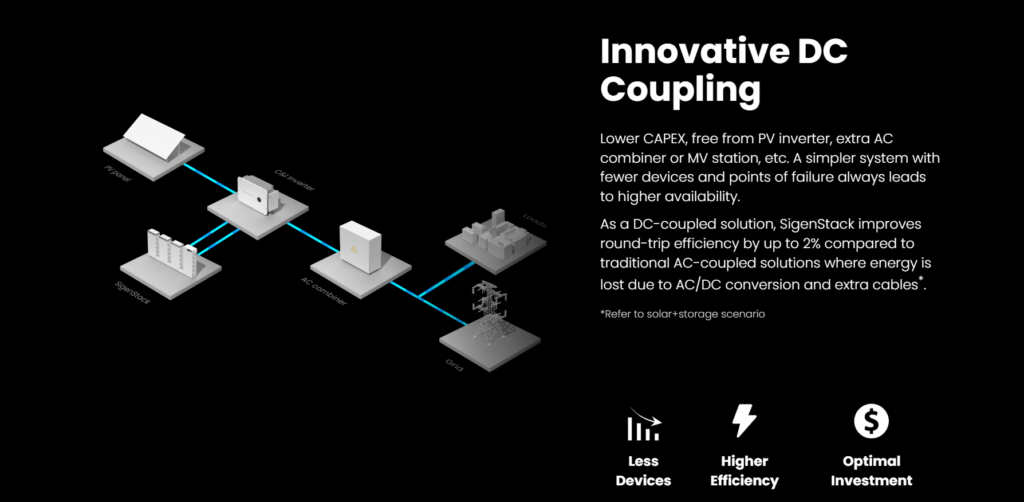
Because it is DC-coupled, it can also improve overall system efficiency compared to traditional AC-coupled setups, particularly when paired with solar.
Built for real-world conditions
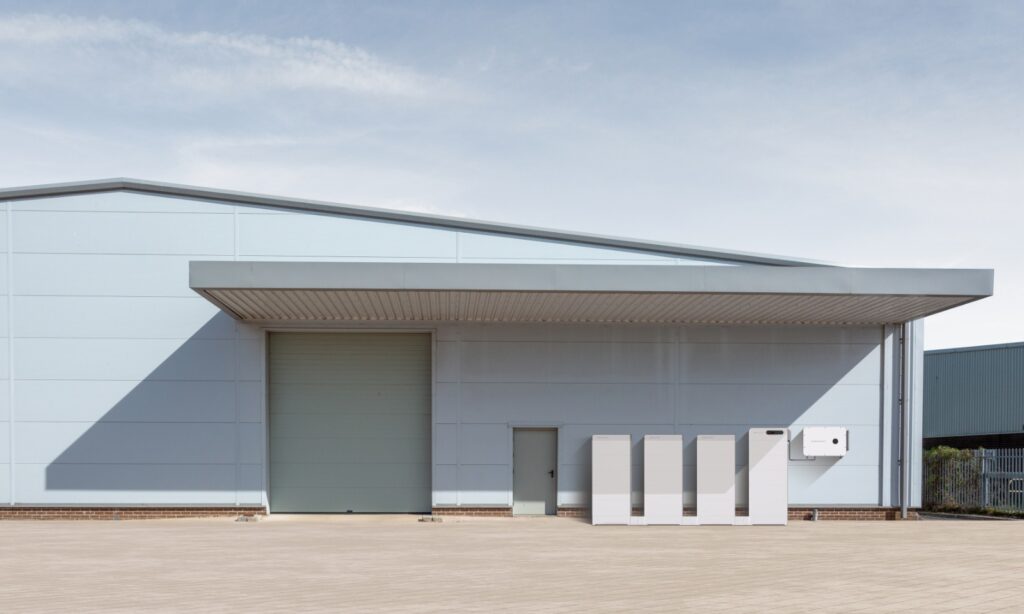
From a practical standpoint, SigenStack is designed to be installed in commercial environments without excessive complexity:
- IP66 rating means it can handle outdoor conditions
- Stackable floor-mounted design avoids large, rigid enclosures
- Active balancing helps maintain performance across modules over time
- Pack-level safety systems monitor and protect each module individually
In simple terms, it is built to be flexible, scalable, and easier to deploy than many traditional commercial battery systems.
SigenStack Specs: Capacity, Design and Key Features
When you’re comparing commercial battery systems, the details matter — especially how the system is sized, built, and configured.
Here’s a straightforward breakdown of SigenStack’s key specs, based on the official datasheet.
Battery & Capacity
- Battery module size: 12.06 kWh per unit
- Minimum system size: 4 modules (≈48 kWh)
- Maximum per system: 21 modules (≈253 kWh)
- Expandable in 12 kWh increments
- Lithium Iron Phosphate (LiFePO₄) chemistry
Physical & Installation
- Stackable, floor-mounted design
- Up to 7 modules per stack
- No complex rack or container required
- IP66 rating (suitable for outdoor installs)
Performance & Efficiency
- DC-coupled architecture (when paired with hybrid inverter)
- Designed to reduce conversion losses compared to AC-coupled systems
- Active balancing across battery modules to maintain long-term performance
Safety & Reliability
- Pack-level battery protection systems
- Integrated battery management system (BMS)
- Monitoring of temperature, voltage, and system health
- Built-in protections designed for commercial-scale operation
System Flexibility
- Works with:
- Solar + storage systems
- Storage-only setups
- Hybrid configurations
- Designed for scaling over time without full system replacement
The key takeaway here isn’t just the numbers — it’s how the system is structured.
Instead of forcing you into fixed sizes, SigenStack gives you control over how much storage you install now and how you expand later, which is where a lot of commercial systems fall short.
Why SigenStack Matters for Commercial Solar Projects
If you’re looking at battery storage for a commercial site, you’re usually not short on options. The challenge is finding something that actually fits your site, your load profile, and your budget — without overcomplicating the install.
That’s where systems like SigenStack start to stand out.
You’re not locked into fixed system sizes
A common issue with commercial batteries is being forced into set capacities — 100 kWh, 200 kWh, and so on. That can lead to one of two problems:
- You overspend upfront on capacity you don’t use yet
- Or you undersize and need a full upgrade later
Because SigenStack is modular, you can start smaller and expand in 12 kWh increments as your needs change. That’s useful if:
- Your business is growing
- You’re planning future electrification (EVs, more equipment, etc.)
- You want to stage your investment rather than commit all at once
It can simplify installation (and reduce hidden costs)
Large commercial battery systems often come with:
- Crane requirements
- Complex racking or container systems
- Extra components like external data loggers or controllers
SigenStack takes a different approach with a stackable, floor-mounted design and integrated system components.
This can help to reduce costs on:
- Installation time
- Labour requirements
- Site constraints (especially where space is tight)
It’s designed for how businesses actually use energy
Most commercial battery decisions come down to a few key use cases:
- Reducing peak demand charges
- Shifting energy use away from expensive periods
- Increasing self-consumption of solar
- Avoiding costly grid upgrades
- Adding backup capability for critical loads
SigenStack is built around these scenarios, rather than just being a storage add-on.
The DC-coupled design also means you can squeeze a bit more efficiency out of your solar + storage setup.
It gives you more flexibility for future changes
Energy pricing, tariffs, and business operations don’t stay the same.
A system that works today might not be optimal in 3–5 years. That’s why flexibility matters.
With a modular system like this, you have more options to:
- Expand capacity later
- Adjust how the system is used (e.g. more arbitrage, more backup)
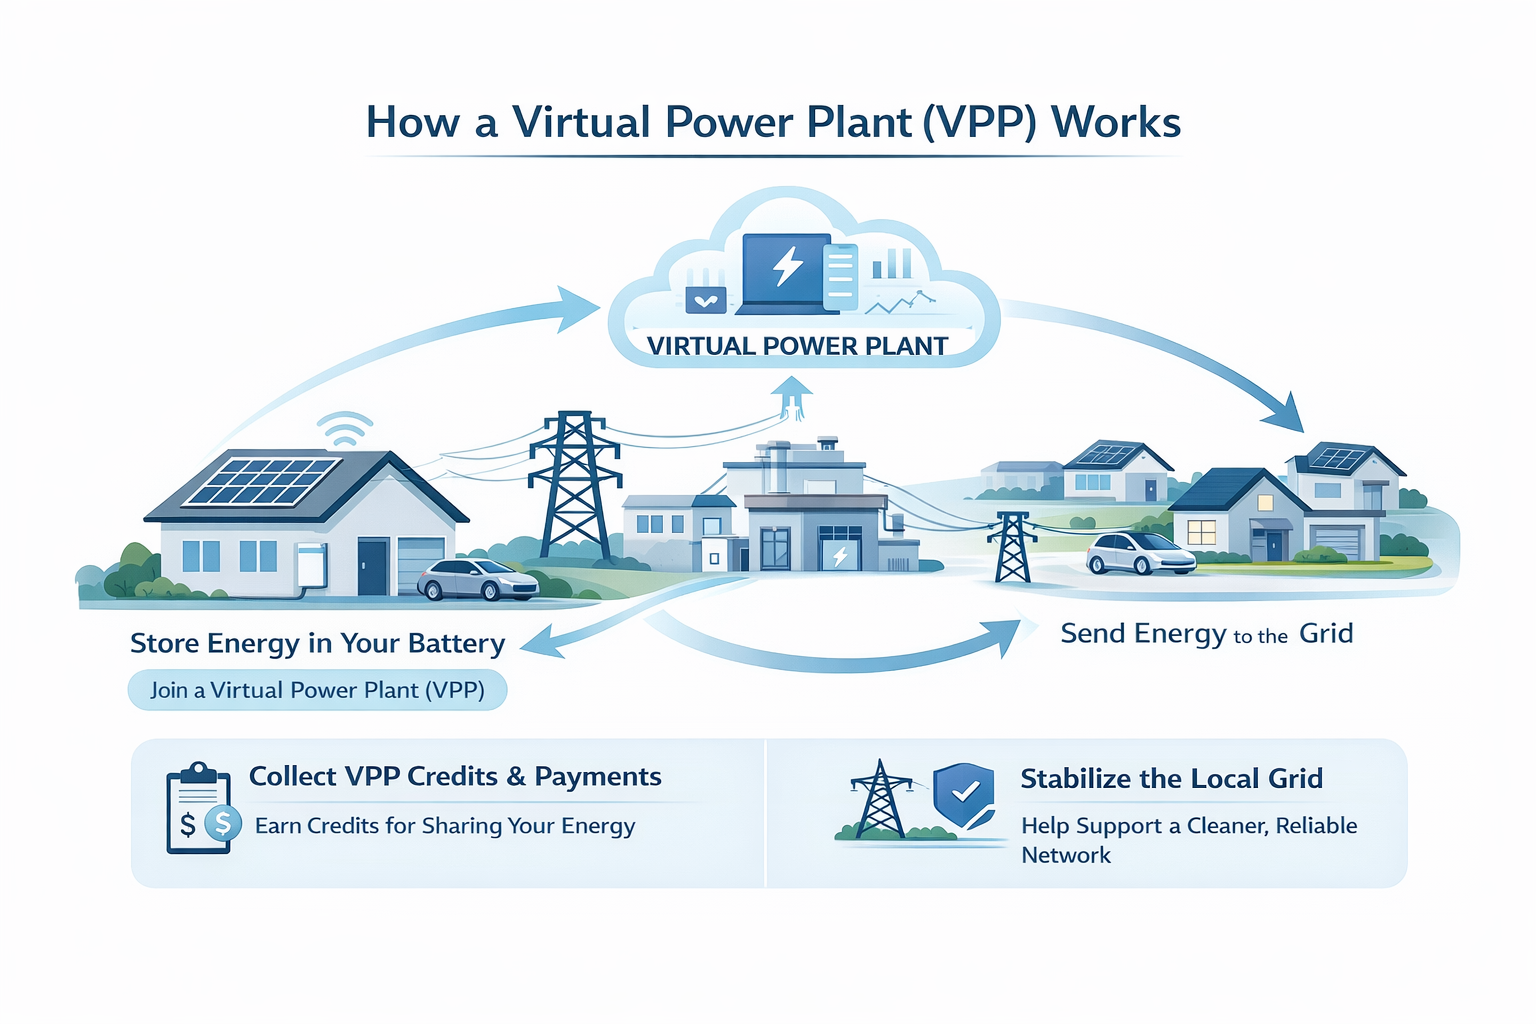
- Integrate with future technologies like EV charging or VPP participation
How SigenStack Fits Into Sigenergy’s Commercial Energy Ecosystem
SigenStack doesn’t sit on its own — it’s part of a broader push from Sigenergy to build a fully integrated energy ecosystem, from residential systems right through to large commercial projects.
If you’ve been following the brand, you’ve probably already seen how quickly they’ve gained traction in Australia. Their residential system, SigenStor, has been one of the fastest-growing battery products on the market, and they’ve continued to expand with new commercial solutions.
You can see that progression in a few key areas:
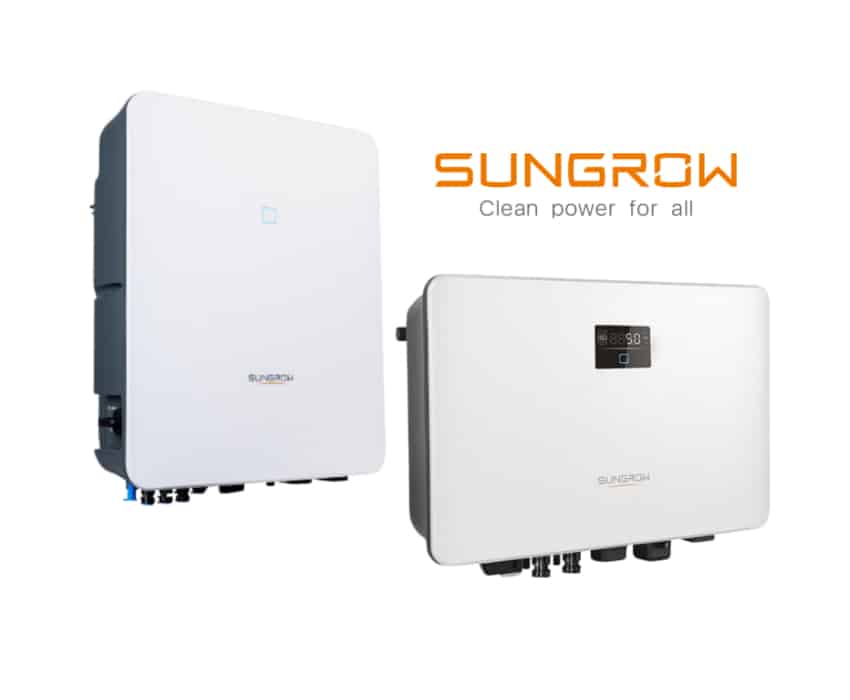
- Their commercial inverter range is already gaining attention in the market → Sigenergy commercial inverter range in Australia
- Installer networks are expanding as more projects adopt the technology → Sigenergy Gold Installer meaning
- And the brand itself is scaling quickly in Australia → Sigenergy becoming Australia’s No.1 home battery brand
SigenStack fits into this by covering the commercial and industrial segment, where system sizes are larger and project requirements are more complex.
Why that matters
For commercial buyers, one of the biggest risks isn’t just the product — it’s the company behind it.
You’re not just buying a battery. You’re relying on:
- Ongoing support
- Software updates and monitoring
- Compatibility with inverters and future upgrades
- A brand that will still be around in 10+ years
Sigenergy’s approach is to keep everything connected under one platform — hardware, software, and energy management.
That includes:
- Integrated inverter + battery communication
- AI-driven energy management via their platform
- A consistent design approach across residential and commercial systems
In practical terms, that can make things simpler when:
- Expanding systems later
- Managing multiple sites
- Integrating solar, storage, and future loads like EV charging
Is the Sigenstack Right For You?
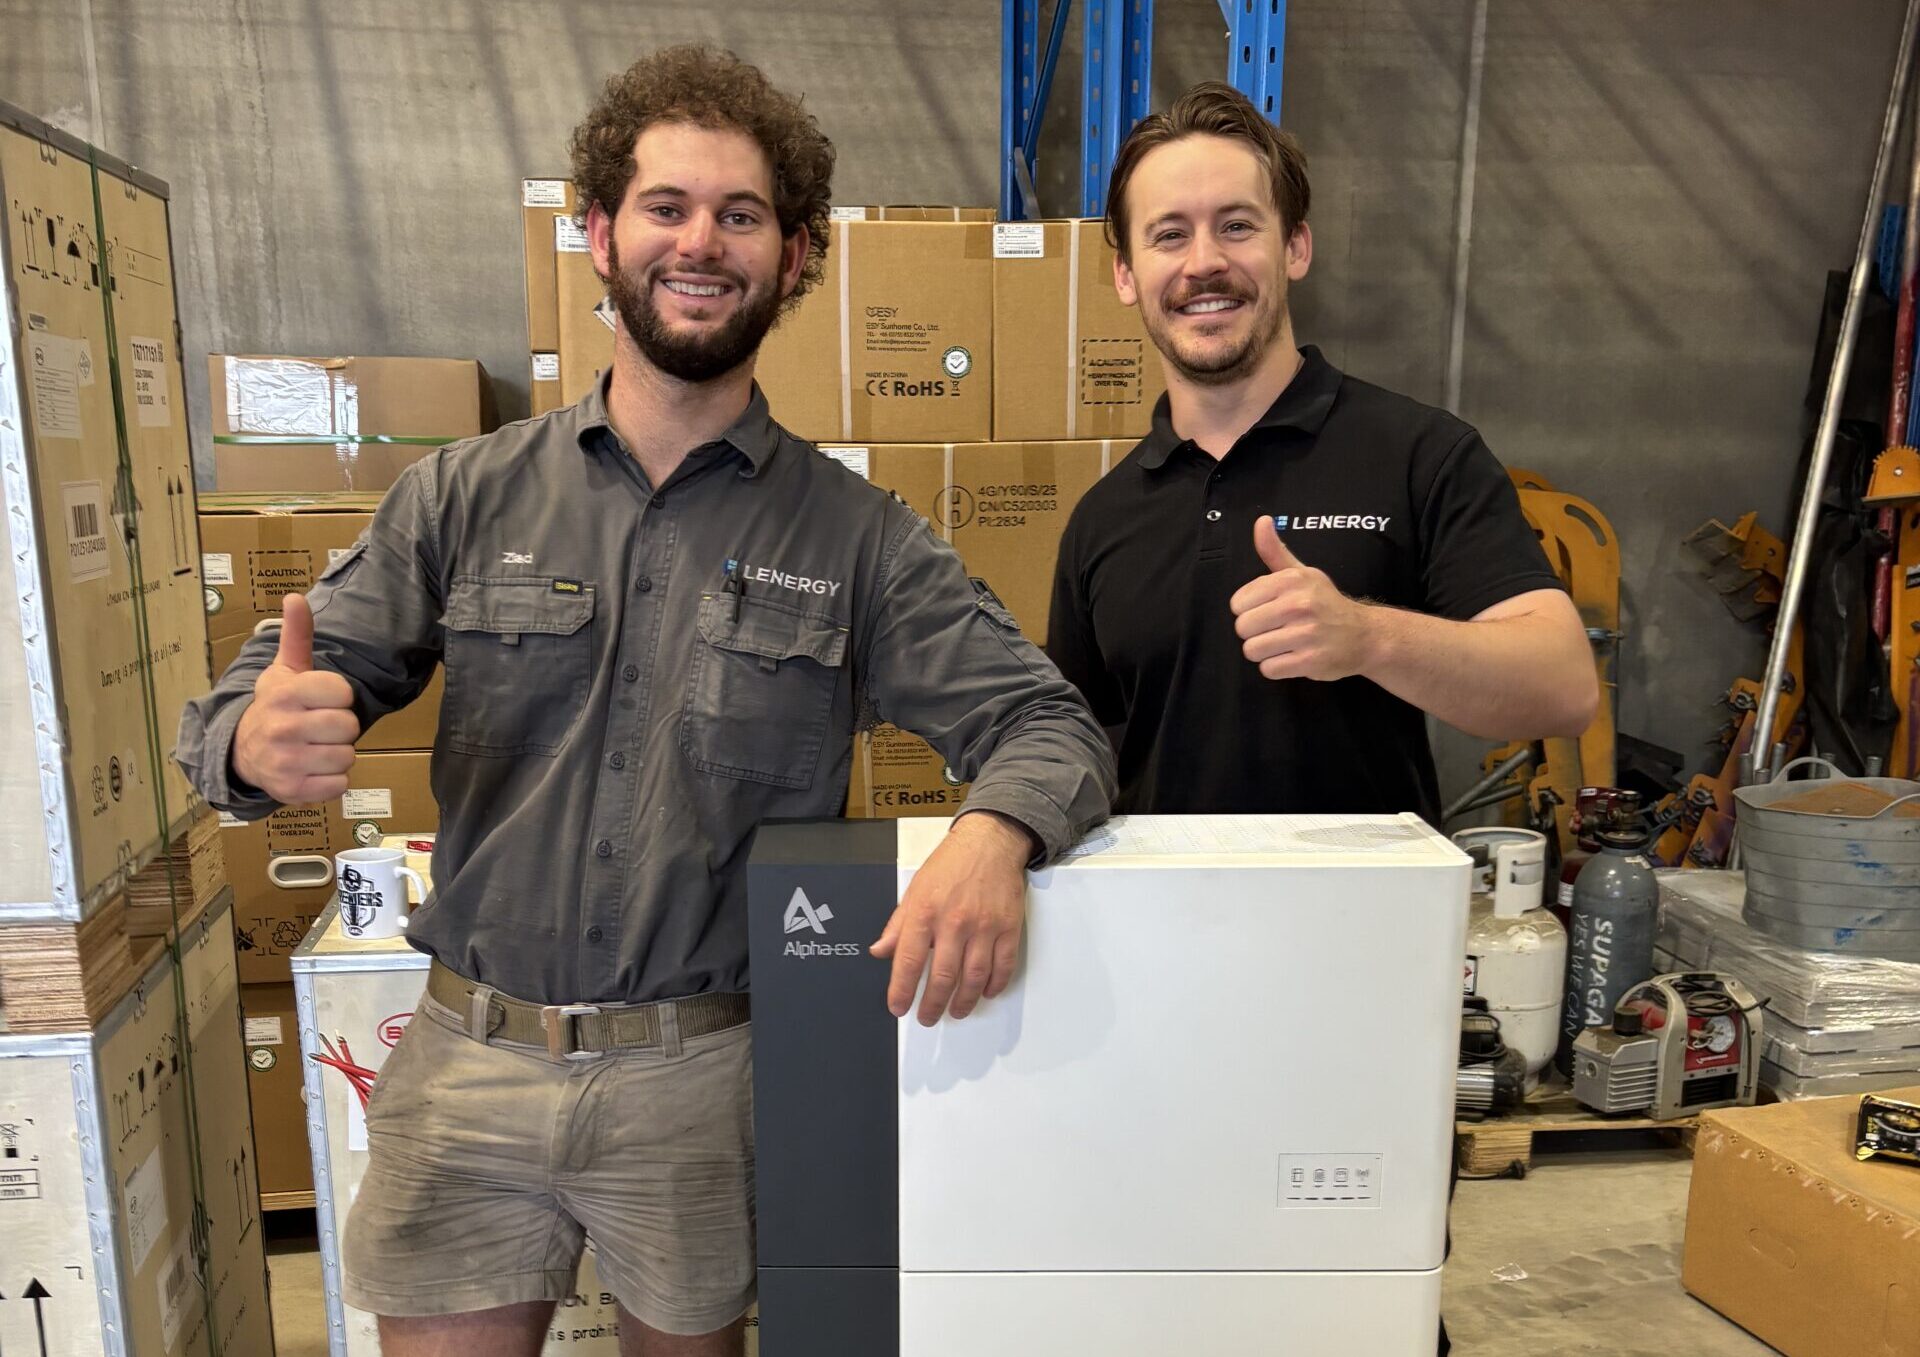
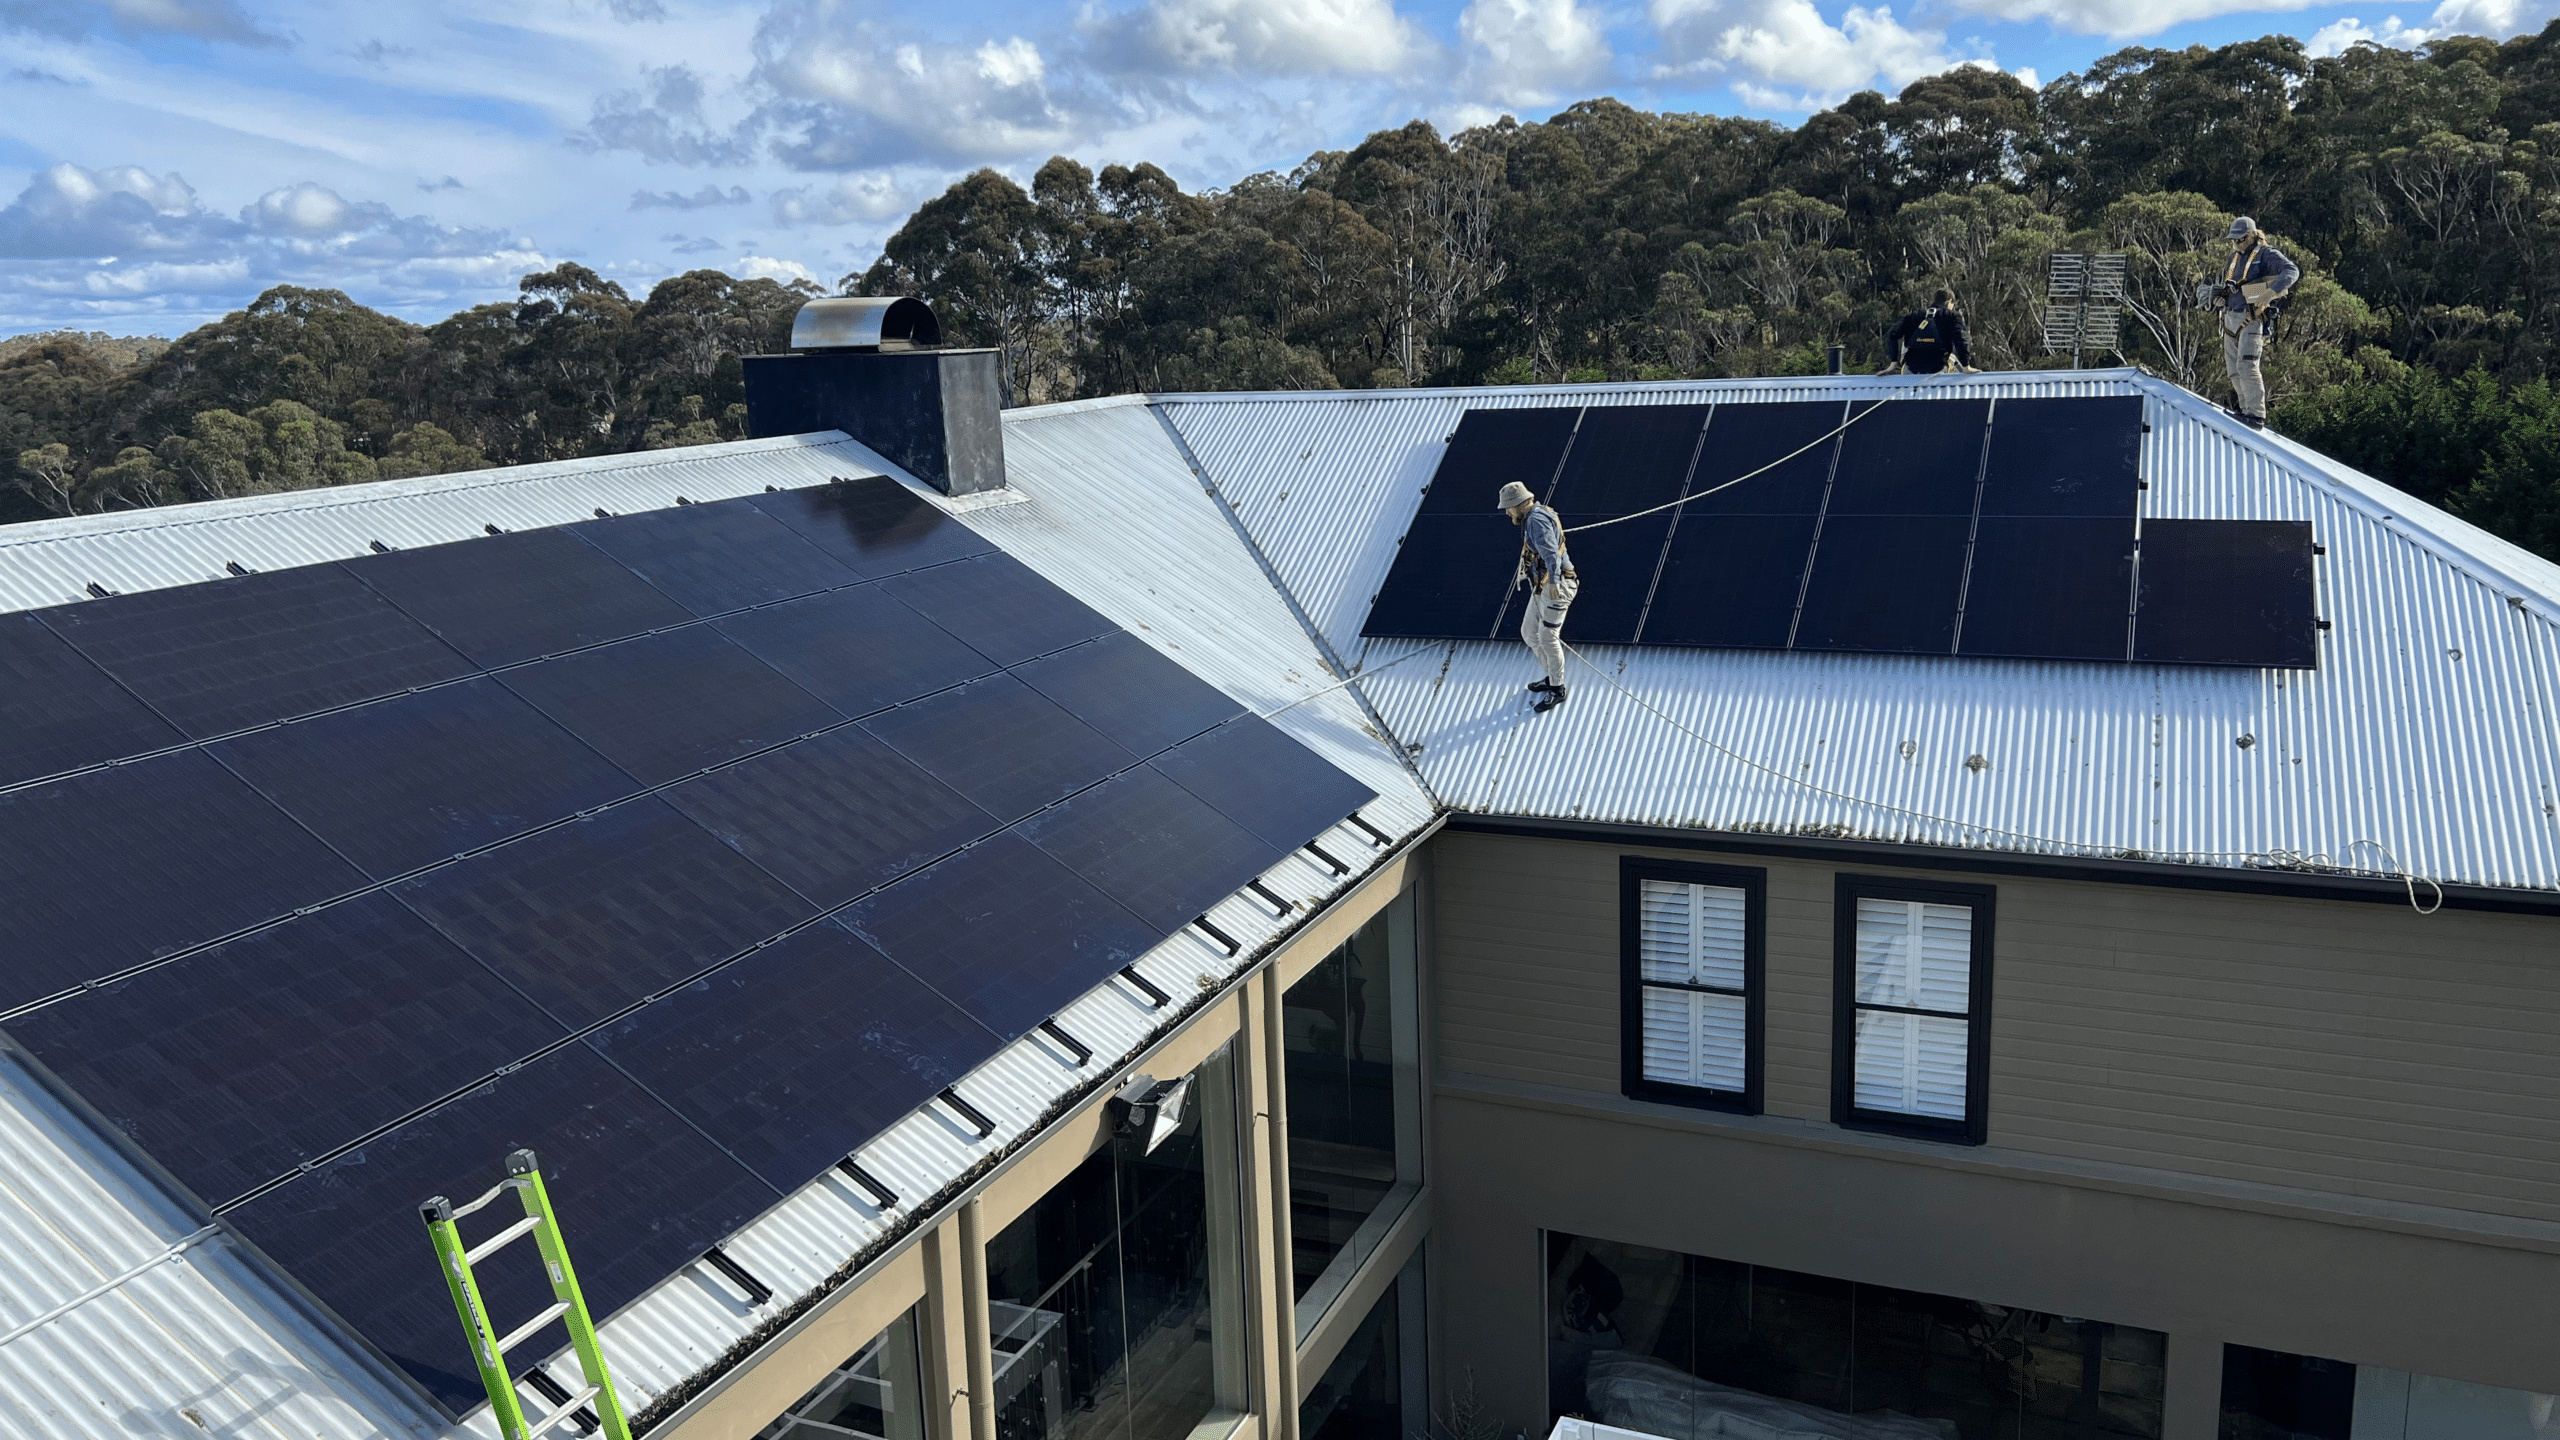
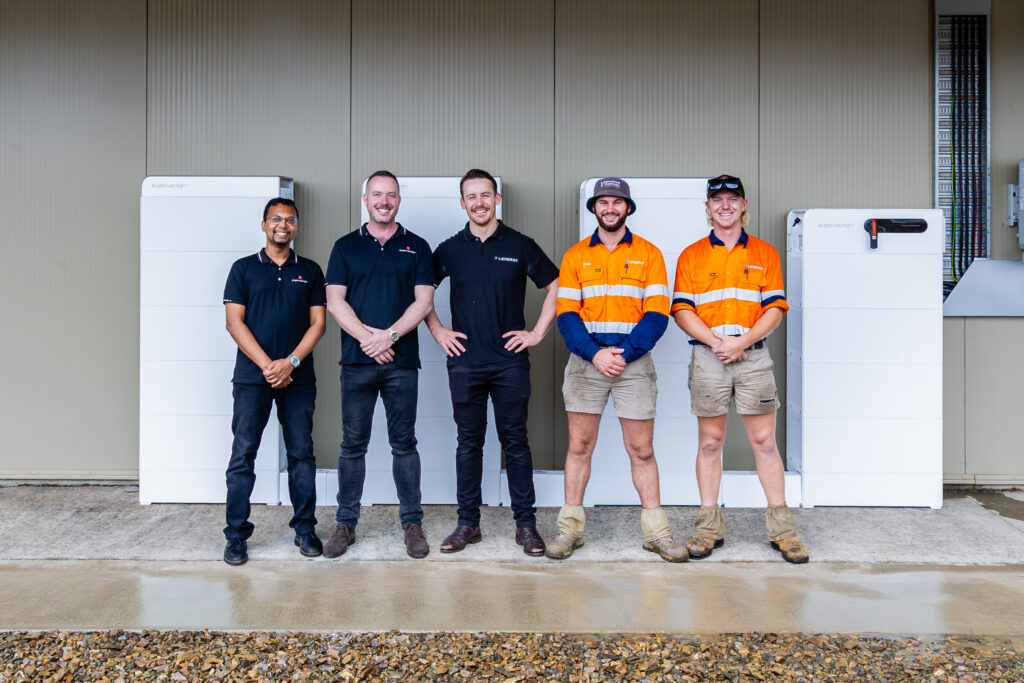
Here at Lenergy we installed one of the first Sigenstack’s in Australia. If you are considering whether a system like it could work for your site, the next step is to look at your energy usage and project requirements. You can click here to speak with one of our specialists and get a clearer idea of whether it’s the right fit for your business.
Frequently Asked Questions About SigenStack
What size businesses is SigenStack suitable for?
SigenStack is designed for commercial and industrial applications, including warehouses, offices, factories, and multi-site businesses. It is typically suited to projects starting from around 50 kWh and scaling upward.
Can SigenStack be added to an existing solar system?
Yes, in many cases it can be integrated with existing solar systems, particularly when paired with compatible inverters. However, system design will depend on your current setup.
Is SigenStack better than traditional commercial battery systems?
It depends on your project. SigenStack offers more flexibility and modularity, but some projects may still suit larger fixed or containerised systems.
Is Sigenergy a reliable brand?
Sigenergy is a newer company but has grown quickly in Australia and globally. As with any system, it is important to consider warranty, support, and installer quality when making a decision.
Learn More About SigenStack
If you want to explore full specifications and configurations, you can view the official product page here:
https://www.sigenergy.com/au/products/sigenstack
If you are considering a commercial solar and battery system, the most important step is understanding how storage fits your site, your energy usage, and your long-term plans.
A system like SigenStack may be a strong option — but only if it aligns with how your business actually uses energy.